How to Install an Exterior Door That is Not Prehung

A non-prehung door is simply a plain, rectangular, plain block of timber, metal, or fiberglass that’s also marketed sans either fasteners, hooks, or a framework. The doorknob slots for non-prehung doors may or might not be predrilled, as well as the hinges would require to be mortised through.
However, ordering a non-prehung panel does not necessitate that you receive a monotonous product. These entrances can be suited for indoor or outdoor passageways, contain glass or elaborate carvings, also be simple or decorated, etc. The processes of installing a non-prehung exterior door will be discussed in more detail in this manual, along with the supplies you’ll require to finish the said task.
Materials & Tools
The following materials and tools are needed on installing the non-prehung exterior door perfectly:
- Thread or tape measure
- Router
- Router bits
- 12d finishing nails or 1 ½-inch timber screws
- Screws
- Mounting bracket
- Door jamb
- Non prehung exterior door
- Door hanger bracket
- Screwdriver

Steps to Install an Exterior Door That is Not Prehung
The processes of installing a non-prehung exterior door requires certain skills in repairing doors.
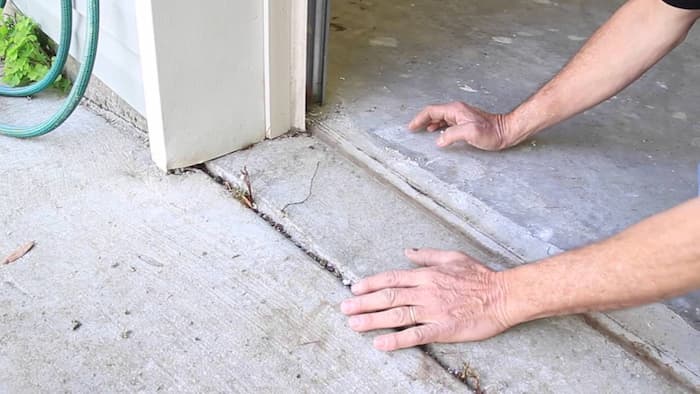
Step 1 – Making the rough opening square
On fixing the jamb, one can typically make up for variations about less than half an inch between the rough opening and the jack bolts. Nevertheless, there seems to be a significant probability the opening will be misaligned if the supporting studs in the entryway are bending more than just that.
A thread or a tape measure can be used to measure the lengths between each of the diagonal angles in addition to the dimension of the entrance at the peak and bottom of the entryway. The frame needs to be adjusted if there is a gap among them of more than half an inch.
Step 2 – Getting the jamb ready
Although it is not required, the second step is how to install an exterior door that is not prehung constructing the jamb prior to attaching it to the frame makes the process go much quicker. When you proceed, use a router to accurately rout all mortises for the joints. The heads of the lateral jambs can be rabbeted using a similar router bit to provide room for the top jamb.
Put 12d finishing nails or 1 1/2-inch timber screws to keep the piece securely following securing the upper jamb in the mitered corners. While measuring the span of the lateral jambs, do not even overlook to look for any uninstalled floorboards.
Step 3 – Fix the mounting brackets to the door jamb using screws
All or greater than six brackets should be screwed into the door jamb. Placing one beneath every hinge. Attach the remaining brackets to the opposite end of the jamb by screwing the first one to the entrance about 8″ from the peak, the next one to the door somewhere beyond the latch block, and the last one to the entrance about 6″ from the lower part.

Step 4 – Mount the door jamb into the rough opening
If carpet is proceeding to be mounted, put 1/2 inch blocks underneath the door jamb, or 1/4 inch if laminate before you put the door panel into the entrance. Don’t ever put the door jamb straightforwardly on the unpolished ground. Install the door jamb into the rough opening after that.
Attach the upper mounting bracket into the jamb on the side that faces the hinges. Observe which frame alignment notch the straight line passes through. Utilizing the same guideline notch as the first, attach the following two brackets now.
Step 5 – To the door jamb, attach the door hinges
The door jamb should be screwed into the door hinges when installing a non-prehung exterior door. Anyone to secure the door throughout this process might be necessary.
Step 6 – The space between the door and the door jamb should be adjusted around the door
Begin at the topmost quick door hanger bracket on the portion opposing the hinges. While putting in the top door hanger, make sure the reveal on the highest point of the door panel extends completely to the frame. Take into account this gap as you lower the door and secure the last brackets.
Now that the door is in place, the bricks beneath the door jamb can be lifted. It is now possible to set up the door casing or also known as the trim. The mounting brackets will be completely hidden by the casing for a beautiful, polished appearance.
Conclusion
If you would like to cut costs on the door acquisition, non-prehung doors can be a preferable alternative because these are often less costly than prehung doors. Additionally, they offer you a lot better aesthetic versatility for the doors, which is advantageous if you are trying for a retro style.
Because of the complexity of working with a non-prehung exterior door, employing the service of a door installation company is the best move for anyone who needs to hang a door that is not prehung. Instead of understanding every component that is required to complete the project which can be a major hassle for you, hurry and drop A+ Doors Inc. a call now at (604) 629-7512!